Case Study: Gauging System Accelerates COVID-19 Test Kits Production
A Renishaw case study in conjunction with Verus Metrology Partners
The issuing of COVID-19 test kits has been a priority in combating the global-wide pandemic for the past two years.
Verus was tasked with developing two bespoke metrology fixtures to help keep up with the rapid manufacturing of COVID-19 test kits. The metrology inspection fixtures would remove the occurrence of bottlenecks in the mass production of the test kit’s plastic components. Thus, enhancing measurement output to keep up with part manufacturing.
The Challenge
US medical-grade container producer SiO2 Materials Science (SiO2) contacted Verus Metrology Partners during the height of the global coronavirus pandemic for assistance in increasing metrology process output, critical to the mass production of COVID-19 test kits.
Benefiting from a strong chemistry and engineering foundation, the leading materials science company uses superior patented materials science to develop life-saving revolutionary solutions. Subsequently, the company is renowned for combining the advantages of glass and plastic without the drawbacks.
Verus Metrology Partners was tasked with providing rapid batch inspection of two test kit components. These were a vial and a cap. In addition to part inspection, the provision of recorded live inspection data was a prerequisite.
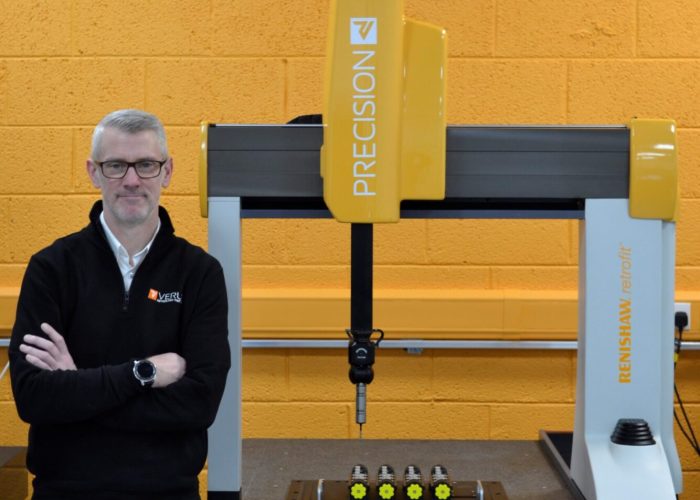
Verus COO Michael Nugent remarked:
“In this case, time was truly critical – in every respect. Not only did we have to build our metrology solution in a short amount of time, but it also had to be capable of determining essential part dimensions quickly and efficiently.
Social distancing measures and significant limitations on both national and international travel provided additional challenges.”
A practical solution was required that made the most of existing on-site inspection processes. All the while adapting to perform ultra-efficiently within a turnkey metrology system.
The Solution
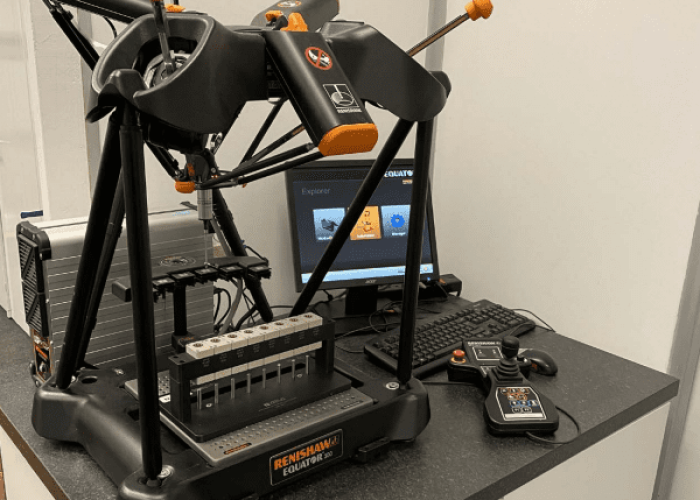
SiO2 had recently acquired a Renishaw Equator™ 300 gauging system that had yet to be integrated into existing metrology processes. The Equator gauge was a perfect match for Verus Metrology Partners’ measurement inspection solution.
Michael explained:
We were previously aware of the Equator gauge’s abilities, having put the measuring system through its paces in our R&D lab. We were aware, in particular, of its quick part examination capabilities.
Designed to accurately inspect medium to high volume components, the Equator 300 system includes a programmable comparator gauge, controller, inspection probe and application software.
Michael adds:
The Equator 300’s working volume offered the starting point. Our solution would have to fit within its working capacity, which is 300mm in diameter and 150mm in height. When you realize that a gauging system like the Equator can execute extremely fast inspection processes, the question becomes, “How can we make the most of it?”
It was simply too sluggish and inconvenient to inspect individual parts one by one. Even with a shuttle system to load and unload. Given the intricacies of each part, we therefore decided that multi-station fixturing was completely feasible. It would also allow us to meet our improved speed goal.
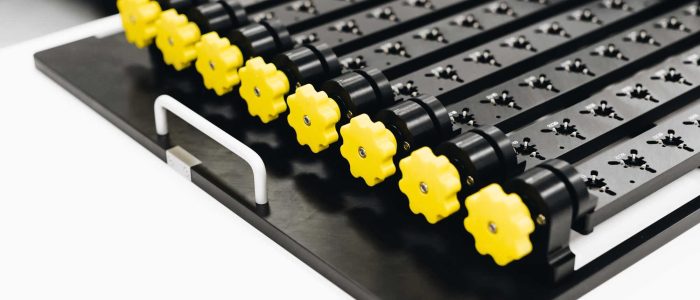
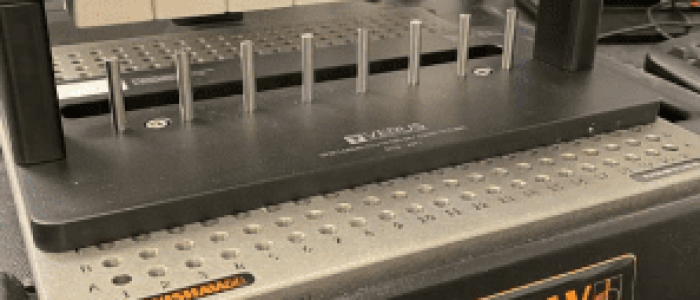
The Fixture: Bespoke 8-Station Metrology Inspection Fixture
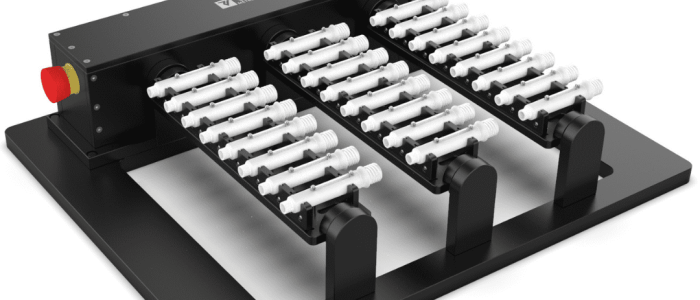
Verus Metrology Partners designed and built two custom 8-station fixtures out of hard-anodized aluminum and medical-grade plastic. The fixtures repeatably place the tubes and caps in fixed positions within the working envelope, ready for probing.
Michael asserts:
The fixturing here plays a key function. It must not only provide the Equator gauge with all the access it requires to inspect the two or five crucial dimensions on each part, but it must also prevent part distortion. The fixture must be able to support reliable and repeatable metrology without jeopardizing the geometry or integrity of the part, whether it be a vial or a cap.
Furthermore, Verus used Renishaw’s MODUSTM measuring software on the Equator Controller to create part gauging routines for the two distinct test kit component fixtures.
The QC-CALC statistical process control software receives all the system’s metrology data in real-time. The data can be printed and saved locally, with a visually displayed Pass-Fail indicator for the system operator.
The Results
The results show that Verus Metrology Partners has drastically reduced the batch release times of SiO2’s COVID-19 test kit components by combining an Equator 300 gauging system with bespoke multi-station fixturing. Once programmed, the Equator gauge runs the inspection routine at the touch of a button. An operator simply places the vials or caps on the appropriate metrology fixture, commences the Equator gauge’s inspection program, and leaves it to inspect eight parts at a time.
Michael states:
More focus is on ensuring that production has jobs and responsibilities that offer genuine value to the company.
Hence, merging high-speed, automated gauging systems like the Equator with multi-station part inspection routines enables the user to maximize the time they have available to produce parts. Therefore, the combination dramatically reduced part inspection time, resulting in more effective use of time and a higher return on investment.
Michael adds:
Clients frequently come to Verus asking for metrology fixturing that will last for a 20-year product lifespan. Of course, in this case, we hope that a far shorter timeframe will be needed.
To learn more about our bespoke fixturing solutions contact Michael Nugent, Chief Operations Officer on +353 (0)71 91 43506 (ext. 215) or Sean Murphy, Group Technical Operations Director on +353 (0)71 91 43506 (ext. 2).
To request a quote click here. Moreover, be sure to subscribe to our Newsletter below, to receive our technical blogs, customer updates and latest developments.
